|
Depth to Plant
|
Spacing Between Plants |
Days to Germinate (Sprout)
|
Germination
|
Best Season to Plant_________ |
Sun
|
Soil
|
Good Plant Companions |
Harvest Instructions |
| 1/4" Deep | 4-6" Apart | 7-14 Days | Between 60° F and 70° F | Spring | Full Sun | Well drained, and well fertilized | Carrots | Snip greens as needed or harvest entire plant to use all at once. |
Getting Started with Chive Seeds
Growing chives from seed is one of the easiest ways to establish this versatile herb in your garden or kitchen. Chives are forgiving plants that tolerate a wide range of conditions, making them ideal for both experienced gardeners and beginners. Whether you're planning a small indoor herb garden or adding to your outdoor beds, starting from seed gives you control over the growing process from day one.
Choosing the Right Seeds and Starting Medium
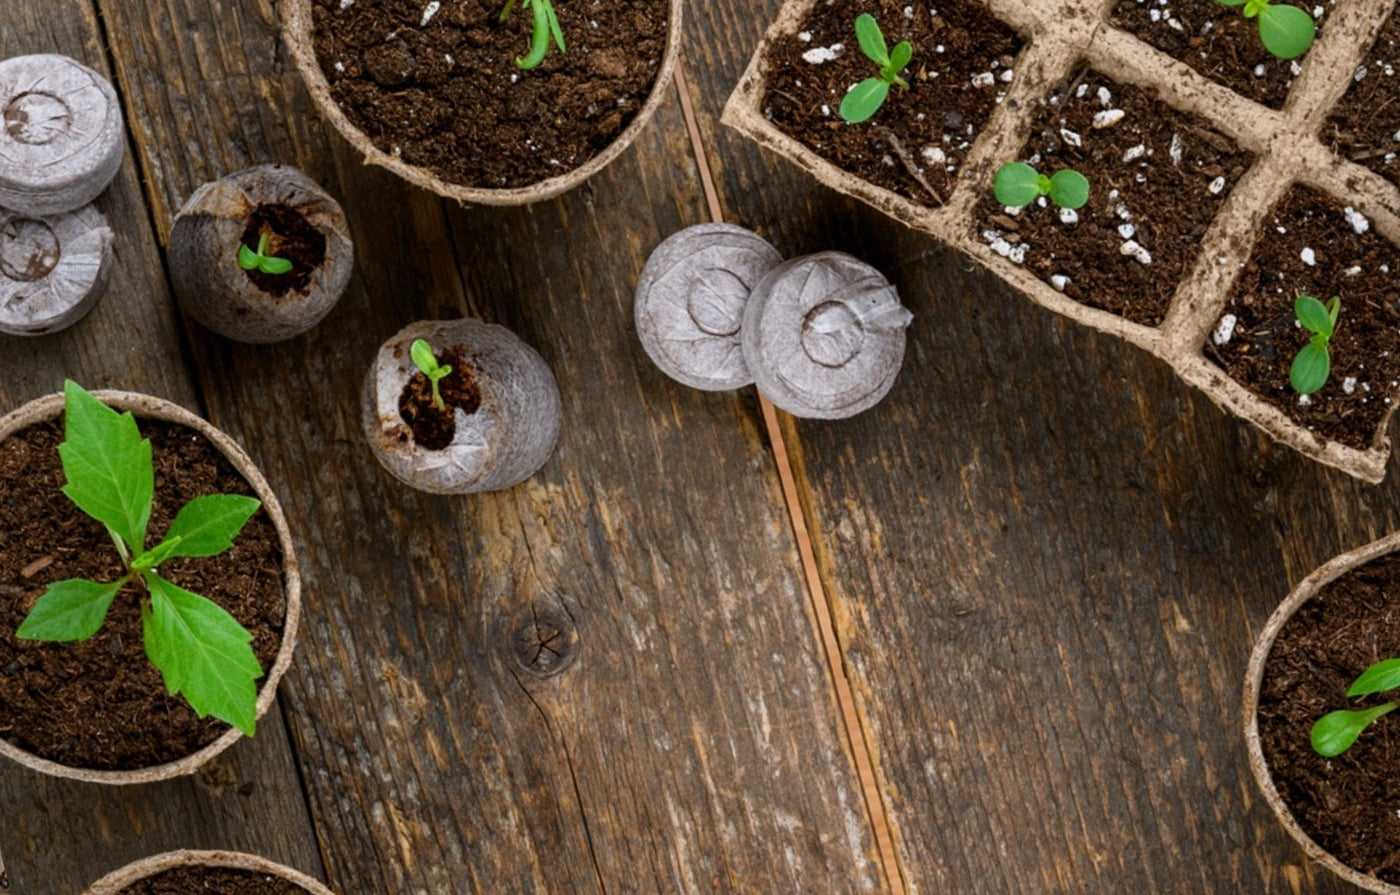
Select high-quality organic chive seeds from a reputable seed supplier. When you're ready to start, use a light, well-draining seed-starting mix rather than garden soil. This specialized medium helps prevent fungal issues and allows seedlings to develop strong roots. Fill seed trays or small pots with your starting mix and moisten it thoroughly before planting.
Planting Your Chive Seeds
Chive seeds are tiny, so handle them carefully. Sprinkle seeds thinly across the soil surface—they need light to germinate, so don't bury them. Instead, gently press them into the moist soil or barely cover with a light dusting of seed mix. Mist the surface with water to keep it consistently moist without becoming waterlogged. Germination typically occurs within 7 to 14 days at room temperature between 60 and 70 degrees Fahrenheit.
Creating Ideal Growing Conditions
Once seedlings emerge, provide plenty of bright light—a sunny windowsill or grow lights work well. Keep the soil consistently moist but not soggy. Seedlings should develop their first true leaves within a few weeks. At this stage, you can thin them out if they're crowded, keeping only the strongest plants. Good air circulation helps prevent damping off disease.
Transplanting and Hardening Off
When seedlings have developed several true leaves and the weather has warmed, you can transplant them outdoors. If growing indoors, you can keep chives in containers year-round. Before moving outdoor seedlings to the garden, harden them off by gradually exposing them to outdoor conditions over 7 to 10 days. This acclimates them to wind, direct sun, and temperature fluctuations.
Planting in the Garden
Choose a location with full sun to partial shade and soil that drains well. Space transplants about 6 inches apart. Chives are not fussy about soil fertility but appreciate consistent moisture during their first growing season. Once established, they're remarkably drought-tolerant and can even spread on their own through self-seeding.
Ongoing Care and Harvesting
Water regularly during the first season to help roots establish. After that, chives need minimal attention—they're naturally pest and disease resistant when grown organically. Begin harvesting when plants are 6 to 8 inches tall by snipping outer leaves from the base. Regular harvesting encourages bushier growth. Remove flower buds if you prefer tender leaves, or leave them to bloom for beautiful spring flowers that are also edible.
Seasonal Tips
In cooler climates, treat chives as a perennial that dies back in winter and regrows in spring. Container-grown chives can be brought indoors for winter harvesting. With minimal care, your chives will return year after year, providing fresh flavor for your kitchen garden.
In Summary
| How to Grow & Harvest Chive |
|
Sow your chive seeds directly into the soil as soon as it is workable and at least 60 degrees F. Chives are grown best in cooler weather, are cold hardy and usually are planted early in the spring. Chives can quickly take over your garden if you allow the plant to go to seed. Chives are also very easily transplanted in case you wanted to dig up the plants and move them to another area. How to Plant Remember to water consistently throughout the season and use plenty of mulch. When the flowers bloom, make sure to remove them so that the seeds aren't spread throughout your garden. The flowers are edible. Chives will thrive if they are divided regularly. Let the newly divided plants grow for several weeks before you harvest from them. When to Harvest If you're harvesting them from seedlings, they will be ready after about 60 days. When harvesting them, cut the greens down to the base, within 1-2 inches from the soil line. Harvest as needed, 3 or 4 times during the first year, and after that you can cut them back monthly. Enjoy the edible flowers that arrive usually in May or June. Use chives fresh or frozen, as dried chives can lose their flavor. |